It was a longer process than I had thought it would be, but the end results were so much better than I had envisioned!
Thanks to the help of my future MIL, I was able to finish it in 2 days! :)
So first off I went to Joann Fabric and bought 7 fun little boxes, and let me tell you I was in that store for an hour trying to find all the fun things I wanted to add :).
I picked out the paint bought some brushes and a few other things and I finally had enough to get started on the boxes.
I had already ordered the trinkets to put in the boxes and they had all arrived. ( I may or may not have ordered an extra of each for myself.)
I found this idea of doing boxes on Pinterest. I absolutely fell in love with the idea. I am all about unique ideas and this hit home for me!
So the boxes took 3days to finish.
Here are the materials needed:
1 box per bridesmaid/jr bridesmaid
Ribbon of choice
2 paint colors ( I used two of my colors for the wedding)
paint brushes
hot glue
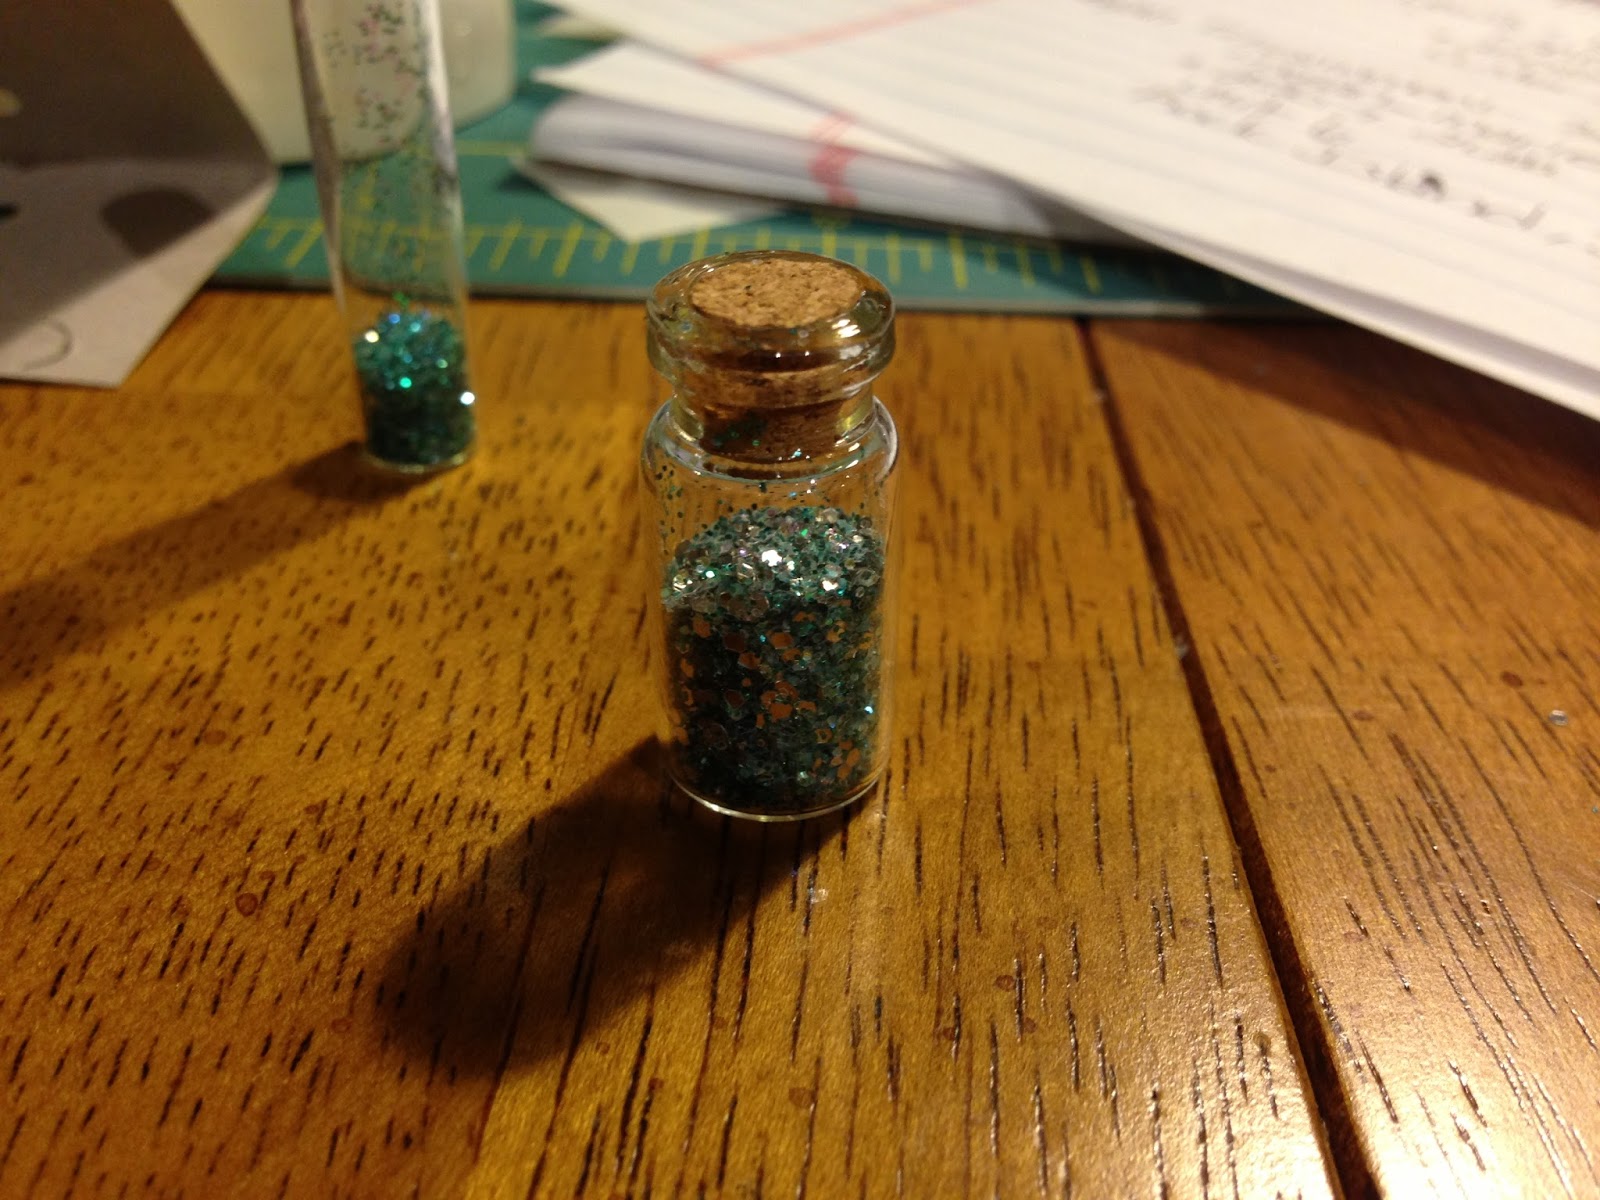
little mini bottles with corks
initial of each bridesmaid/jr. bridesmaid
Cricket with Vinyl
glitter
card stock (2 different colors- same colors as paint for me)
Glue stick
calligraphy pens
Trinkets to add in to box
tissue paper
Night one was spent painting the boxes in preparation for the next night!


Night two was a longer process than I had anticipated.
We made the letters with the cricket and the vinyl stuck perfectly to the wooden boxes.
On the outside of the box I had "Would you be my" and then on the inside of the lid I had "bridesmaid, jr. bridesmaid, or Maid of Honor".


Used Christmas ornament thread and glued it to the back so the letter could hang.

Added glitter to the mini cork bottles and used the same thread as the letters to hang them from the bows.

Once the boxes were finished, I added tissue paper to the bottom and added the trinkets:

Each girl got:
*gray nail polish
*a glittered heart shape compact mirror
*a "knot" ring
*and a mini bottle of wine
In each box I added a full list of each girls information (phone number, address and email)
I also included a poem detailing each item as well as a letter to each one handwritten:
 |
| The knot ring is my fave and I hope to have a special photo taken day of the wedding! |


This was such a fun thing to do for the bridesmaids and I can't wait for them to see what's in store for the day of the wedding!! :)
I am so thankful to have such wonderful women in my life who support me and my future hubs!
I hope you enjoyed this tutorial and I can't wait to bring you more after the wedding is over :)

No comments:
Post a Comment